What to Inspect at Every Stage of Building Your Home: A Phase-by-Phase Guide
Here's something most first-time builders don't realize until it's too late: the best time to catch a construction mistake is before it gets buried behind drywall.
I've been building homes for over 15 years. In that time, I've seen homeowners save tens of thousands of dollars by catching problems at the right moment - and I've watched others spend $15,000 fixing issues that would have cost $200 if they'd spotted them a week earlier.
The difference between those two outcomes? Knowing what to look at and when to look at it.
This guide walks you through every major construction phase and tells you exactly what to inspect at each stage. Think of it as your field manual for site visits.
Why Your Own Inspections Matter (Even If You Have a Good Builder)
"But my builder is great. He's been doing this for 20 years."
I hear this constantly. And the builder probably is great. But here's what experience has taught me:
Your builder manages dozens of subcontractors across multiple projects. He can't be everywhere at once. The plumber installs pipes, the electrician runs wire, the framer builds walls - and nobody is checking the other person's work. That's where you come in.
You don't need to be an expert. You just need to know what to look for.
The Complete Construction Timeline
Before diving into each phase, here's a quick overview of how a typical custom home build flows and where your inspections fit in:
Why this matters: Foundation problems are the most expensive to fix after the fact. A cracked or settling foundation can cost $20,000 to $50,000+ to repair. Catching issues now costs almost nothing.
Before the pour - check these:
- Lot is properly cleared and graded - water flows away from the building footprint
- Soil report matches what you see on site (no unexpected clay, fill dirt, or standing water)
- Footings are dug to the correct depth per the engineering plans
- Rebar is installed, properly spaced, and elevated off the ground on chairs
- Utility sleeves (water, sewer, electric) are in place before the pour
- Forms are straight, level, and properly braced
- No standing water or mud in the trench before concrete arrives
After the pour - check these:
- Foundation walls are straight and plumb (use a level)
- No visible honeycombing (exposed aggregate or voids) in the concrete
- Anchor bolts are properly placed and spaced for framing
- Foundation waterproofing is applied before backfill
- Drain tile / French drain is installed at the footing level
A homeowner I worked with skipped the pre-pour inspection. After framing, they discovered the foundation was 6 inches off the surveyed property line. The fix required a variance hearing, engineer redesign, and $8,200 in attorney and filing fees. A 10-minute site visit would have caught it.
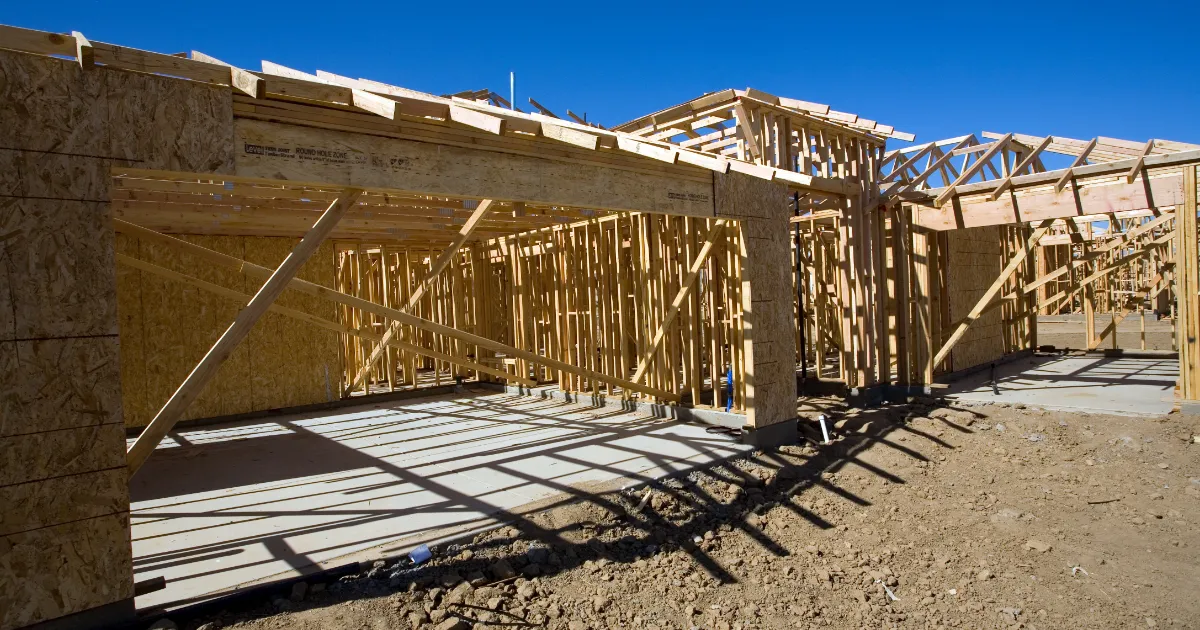
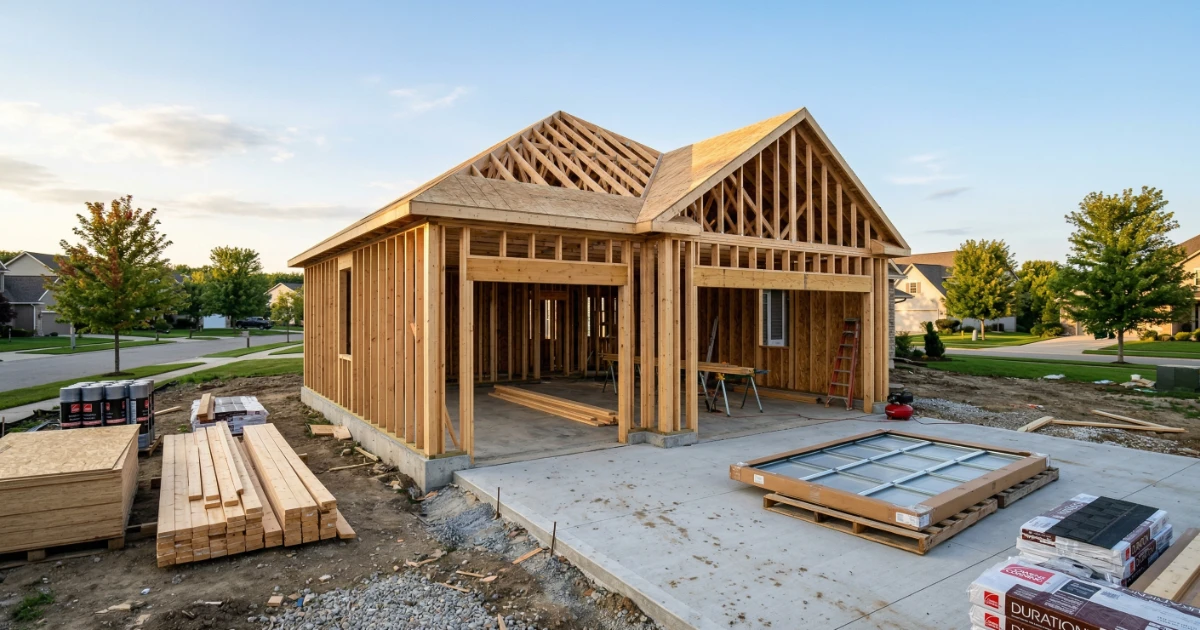
Why this matters: The frame is the skeleton of your home. Every wall, window opening, and load-bearing point is defined here. Once drywall goes up, structural issues become invisible - and expensive.
Walk the frame and check:
- All walls match the floor plan - measure room dimensions against the blueprints
- Window and door openings are the correct size and in the right locations
- Headers above openings are properly sized (check engineering specs)
- Load-bearing walls have proper support below them (check basement/crawl space)
- Sheathing is properly nailed - consistent nail spacing, no missed studs
- Roof trusses/rafters are straight, evenly spaced, and properly braced
- No excessive warping, cracking, or split lumber in structural members
- Staircase rough opening matches the design (width, height, number of steps)
Bring your blueprints to every framing inspection. Walk every room and compare what you see to what's on paper. I've seen bedroom closets accidentally framed 12 inches too narrow, bathrooms that ended up 2 feet shorter than planned, and kitchen islands that couldn't fit because the wall was in the wrong place. These are easy fixes now and nightmare fixes after drywall.
Read more about what to watch for in my article on wet framing and when to worry.
Why this matters: This is your last chance to see the mechanical systems before they disappear behind drywall for the next 30+ years. Moving an outlet after drywall costs $300 to $500. Moving it now costs $20.
Plumbing inspection:
- Supply lines and drain lines match the plumbing plan
- Pipes are properly supported and secured (no sagging drain lines)
- Drain pipes slope downward toward the main drain (min 1/4" per foot)
- Shut-off valves are installed in accessible locations
- No water hammer arrestors missing on quick-close fixtures
- Tub/shower valves are at the correct height and position
- Hose bibs are in the right locations (check all four sides of the house)
Electrical inspection:
- Outlets match the electrical plan - count every one and verify placement
- Kitchen has dedicated 20-amp circuits for countertop outlets
- Light switch locations make sense (walk through each room mentally)
- Exterior outlet locations are where you need them (garage, patio, landscaping)
- Panel box is properly sized for the home's load
- Smoke and CO detector wiring is in every required location
- Pre-wiring is done for anything you need (ethernet, speakers, EV charger, security)
HVAC inspection:
- Ductwork routing matches the HVAC plan
- Supply and return vents are in logical positions (not behind doors or in closets)
- Duct joints are properly sealed (look for gaps or loose connections)
- Equipment placement allows for future maintenance access
- Thermostat location is on an interior wall, away from direct sunlight
Not checking outlet and switch locations against your furniture plan. You'll kick yourself when your bed covers the only outlet in the master bedroom, or when the light switch in the hallway is behind the door when it opens. Walk every room and mime your daily routine - entering, turning on lights, plugging in devices. It takes 20 minutes and saves thousands.
Keeping Track of 100+ Inspection Points?
The Home Building Checklist Bundle gives you phase-by-phase inspection lists with every item mentioned here (and dozens more) - plus contractor vetting tools and a budget tracker.
See the Checklist BundleWhy this matters: Your exterior is the weather barrier. Poor window flashing leads to water intrusion. Bad insulation leads to energy loss and comfort problems. Both are invisible once finished.
Windows and doors:
- Windows are the correct size, style, and in the right locations per plan
- Flashing tape is properly installed - overlapping in shingle fashion (top over bottom)
- No gaps between window frame and rough opening (should be shimmed and sealed)
- Exterior doors swing the correct direction and have proper weatherstripping
- House wrap (Tyvek or similar) is installed with proper overlap and sealed seams
Insulation:
- Insulation fills every stud bay completely - no gaps, no compression
- R-value matches what was specified (check the label on the insulation)
- No insulation covering electrical boxes or recessed light housings (fire risk)
- Rim joists and band boards are insulated (commonly missed area)
- Vapor barrier is on the correct side (warm side - varies by climate zone)
- Attic insulation depth is consistent and meets code requirements
Take photos of every wall before insulation goes in, and again before drywall goes up. If you ever need to find a pipe, wire, or stud after the walls are closed, these photos are worth their weight in gold. Store them in a "Construction" folder on your phone - you'll thank yourself in 5 years.
Why this matters: This is what you'll see and touch every day for decades. Finish work defects might not be structural, but they affect your daily quality of life - and they're easiest to fix before the builder packs up.
Drywall:
- No visible seams, bubbles, or nail pops (inspect with a flashlight at an angle)
- Corners are straight and clean
- Electrical boxes and outlets are cut cleanly and aren't covered
Paint:
- Consistent coverage - no thin spots, drips, or roller marks
- Clean cut lines at ceiling-wall and wall-trim transitions
- Correct colors in every room (verify against your selection sheet)
Cabinets and countertops:
- Cabinet doors are aligned and close properly
- Drawers slide smoothly and close fully
- Countertop seams are tight and level (run your fingers across them)
- Backsplash is properly sealed where it meets the countertop
Flooring:
- No squeaks (walk every square foot of hardwood/engineered flooring)
- Tile grout lines are consistent width and fully filled
- Transitions between floor types are clean and level
- No visible scratches, chips, or damaged planks
Trim and hardware:
- Baseboards and crown molding joints are tight
- Door hardware functions properly - locks engage, levers return
- All interior doors close properly without sticking or dragging
Material selection at this stage can dramatically affect cost - read my article on why quotes for railings, staircases, and countertops vary so much.
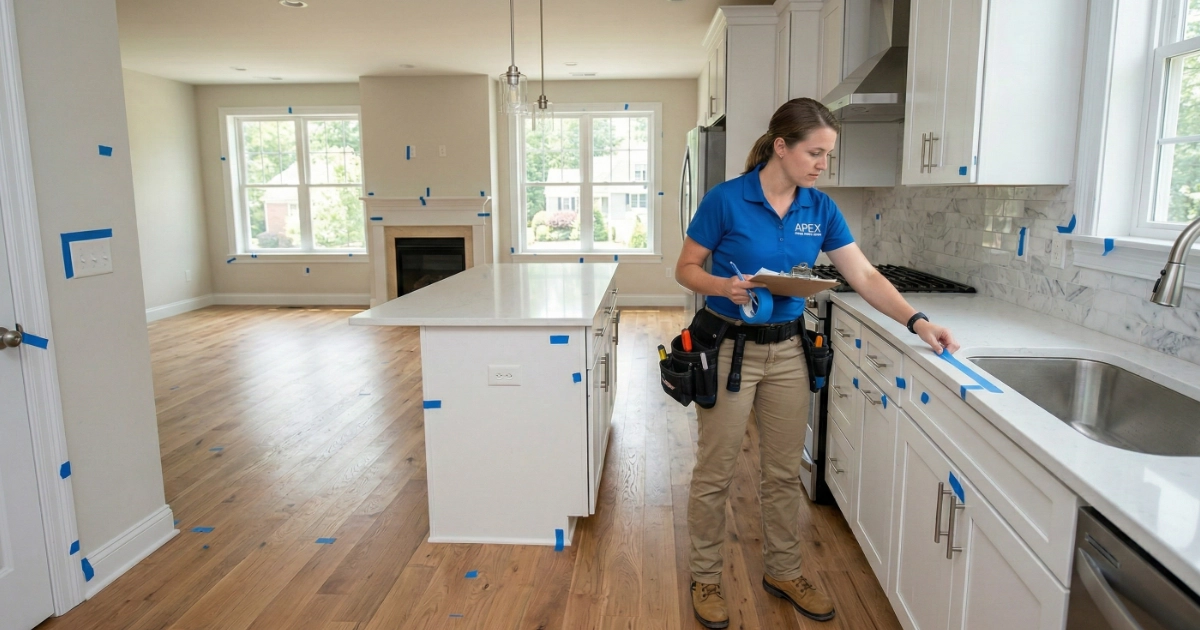
Why this matters: This is your last chance to create a punch list before you accept the home. Anything you miss now becomes your problem and your expense. Take your time. Plan at least 2 to 3 hours.
Systematic walkthrough approach:
Go room by room. In each room, inspect in this order:
- Ceiling - cracks, paint coverage, light fixtures centered and working
- Walls - drywall defects, paint, outlet plates straight and tight
- Floor - scratches, level, grout, transitions
- Windows - open, close, lock, check screens, verify no seal breaks
- Doors - swing, latch, hardware, clearance at bottom
- Fixtures - every faucet, every light, every outlet (bring a phone charger to test)
Don't forget the systems:
- Run every faucet - check for leaks under every sink
- Flush every toilet - verify proper fill and no running
- Test every GFCI outlet (use the test/reset buttons)
- Run the HVAC on heat AND cool - verify airflow from every vent
- Test the garage door opener, doorbell, exhaust fans
- Check the water heater is set to the correct temperature
- Verify attic access - look in the attic for any obvious issues
Exterior walkthrough:
- Siding is straight, no gaps, all trim pieces complete
- Gutters slope toward downspouts, downspouts extend away from foundation
- Grading slopes away from the house on all four sides
- Concrete (driveway, walkways, patio) has no major cracks
- Exterior hose bibs work and don't leak
- HVAC condenser unit is level and has clearance around it
Bring blue painter's tape and mark every defect you find - put a strip of tape right next to it. This makes it easy for the builder's crew to find and fix each item. Take a photo of each one. A typical walkthrough produces 20 to 50+ items on new construction. That's normal. What's not normal is accepting the house without doing this.
What Costs the Most to Fix After the Fact?
To put this in perspective, here's what happens when problems are caught at different stages:
| Issue | Cost During Construction | Cost After Move-In |
|---|---|---|
| Move an electrical outlet | $20 - $50 | $300 - $500 |
| Fix improper drain slope | $0 (redo before inspection) | $2,000 - $5,000 |
| Correct window flashing | $50 - $100 | $1,500 - $4,000 |
| Fix foundation crack | $200 - $500 | $5,000 - $25,000 |
| Move plumbing rough-in | $100 - $300 | $2,000 - $8,000 |
| Add insulation to missed areas | $50 - $200 | $1,000 - $3,000 |
| Fix improper grading/drainage | $500 - $1,000 | $3,000 - $10,000 |
See the pattern? Every single problem gets 10x to 50x more expensive once the walls are closed and you've moved in. Your inspections during construction aren't just about quality - they're about protecting your budget.
How Many Inspections Should You Do?
At minimum, plan for these key inspections during your build:
That's 4 critical inspections and 2 recommended ones. Six site visits over a 5 to 7 month build. Each one takes 30 to 90 minutes. That's roughly 6 hours total to protect a $300,000+ investment.
What to Bring to Every Inspection
Show up prepared. Every time. Here's your inspection kit:
- Your blueprints / floor plans - compare what's built to what's on paper
- A tape measure - verify room sizes, window heights, counter heights
- A level - check walls, countertops, and fixtures for plumb and level
- A flashlight - see inside cavities, under cabinets, in the attic
- Your phone camera - document everything, especially behind-the-wall items
- Blue painter's tape - mark defects for the builder's punch list
- A phone charger - test every outlet
- A notebook or checklist - track items systematically, not from memory
For a complete list of recommended tools, check out my guide on the 16 tools every homeowner should have during construction.
Want the Full Inspection Checklists?
This article covers the highlights. The Home Building Checklist Bundle contains 100+ inspection points per phase, organized so you can walk the job site with confidence.
Get the Complete ChecklistsFinal Thoughts
Building a home is one of the biggest investments you'll ever make. You don't need a construction degree to protect that investment. You just need to show up at the right times, know what to look at, and ask questions when something doesn't look right.
Your builder works for you. A good builder will appreciate a prepared homeowner - it means fewer callbacks, fewer warranty claims, and a better finished product for everyone.
Don't be the homeowner who drives by the site, waves at the crew, and assumes everything is perfect. Be the one who walks the site with a flashlight, a tape measure, and a plan.
The problems you catch during construction are the problems you don't pay for later.
For more on budgeting for these inspections and avoiding surprise costs, read my guide on the hidden costs of building a custom home.