The Ultimate Home Building Checklist: Why Every Homeowner Needs One Before Breaking Ground

Here's a stat that still surprises people: 63% of custom home builds go over budget, and 77% experience significant delays. Those aren't bad homeowners. Those are people who trusted their builder to handle everything -and found out too late that some things fell through the cracks.
I've worked on enough residential projects to know this for a fact: the homeowners who come prepared with a checklist get a better house, spend less money, and sleep better at night. The ones who show up empty-handed? They're the ones calling me months later, frustrated because their framing inspection caught problems they could have spotted themselves.
In this guide, I'll show you exactly why a home building checklist is the single most important tool you can have during construction -and what it should cover at every phase.
The Numbers Don't Lie: What Happens Without a Checklist
Let's start with real data. The National Association of Home Builders (NAHB) and independent construction surveys consistently show a pattern among owner-built and custom homes:
More than half of the issues found at the very end -when they're expensive and time-consuming to fix -could have been caught weeks or months earlier. That's what a checklist does. It shifts your quality control from the end of the build to every single phase.
Why Your Builder's Quality Control Isn't Enough
I hear this one all the time: "I'm paying my builder to manage everything. Why do I need my own checklist?"
Here's the honest answer: your builder is good at building. But they're managing multiple projects, coordinating dozens of subcontractors, and dealing with material deliveries, weather delays, and permit inspections. They don't have the bandwidth to inspect every detail the way you -the person who will live there -would.
Consider this: on any given day, your general contractor might be managing 3-5 active projects. Each project has 15-25 different subcontractors cycling through at different phases. That's 75 to 125 separate teams to coordinate.
Your builder sees your house as one of several projects. You see it as the single biggest investment of your life. That difference in attention is why your own checklist matters. It's not about distrust -it's about caring enough to double-check.
What a Proper Home Building Checklist Covers
A good construction checklist isn't just a random list of tasks. It follows the actual phases of your build, matching the order in which work happens on site. Here's the breakdown:
| Construction Phase | Key Items to Check | Why It Matters |
|---|---|---|
| Land Clearing & Foundation | Drainage, soil condition, footing depth, rebar spacing, waterproofing | Foundation problems are the most expensive to fix later -often $10,000-$50,000+ |
| Framing | Wall straightness, window/door rough openings, beam sizes, truss spacing | Framing errors affect every trade that follows -plumbing, electrical, drywall |
| Plumbing Rough-in | Pipe sizing, water heater location, drain slopes, fixture placements | Moving a drain line after concrete is poured costs 5x more than getting it right |
| Electrical Rough-in | Outlet locations, circuit capacity, panel sizing, switch heights | Adding outlets or circuits after drywall means cutting and patching walls |
| HVAC | Duct sizing, register locations, unit capacity, thermostat placement | Wrong sizing = uncomfortable rooms and high energy bills for years |
| Insulation & Drywall | R-values, vapor barrier, no gaps, corner bead, mud and tape quality | This is your last chance to inspect behind walls before they're sealed forever |
| Interior Finishes | Paint quality, trim alignment, cabinet level, countertop seams, tile grout | These are the details you'll look at every day for the next 20+ years |
| Exterior | Siding alignment, flashing, gutter slope, window caulking, roof condition | Water intrusion is the #1 cause of structural damage in residential buildings |
That's a lot of phases. And each one has dozens of individual items to verify. This is exactly why a structured, written checklist is so valuable -you physically can't remember all of this.
The Real Cost of Missing Things
Some items on a checklist might seem minor. An outlet placed 6 inches too low. A bathroom vent that vents into the attic instead of outside. A missing piece of flashing behind a window. But the cost of fixing these things after the build is dramatically higher than getting them right during construction.
| Issue | Cost to Fix During Build | Cost to Fix After Move-in | Multiplier |
|---|---|---|---|
| Move an electrical outlet | $25 - $50 | $200 - $400 | 8x |
| Fix incorrect drain slope | $100 - $300 | $2,000 - $5,000 | 15x |
| Add missing window flashing | $50 - $100 | $1,500 - $4,000 | 25x |
| Correct HVAC duct sizing | $200 - $500 | $3,000 - $8,000 | 12x |
| Fix foundation crack | $300 - $800 | $5,000 - $15,000 | 15x |
| Re-insulate missed sections | $50 - $100 | $800 - $2,000 | 14x |
On average, fixing a construction issue after the walls are closed is 10-25 times more expensive than fixing it during the right phase. A $50 fix becomes a $1,000+ repair. That's not an exaggeration -it's the reality of construction.
Some issues don't show up for years. Missing flashing causes slow water intrusion that rots framing behind your walls. An improperly vented bathroom fan creates a mold problem in your attic. By the time you notice, the damage is severe and expensive. A checklist catches these things when they're visible and cheap to fix.
What Each Phase Looks Like on Your Checklist
Let me break down what you should be physically checking at each major construction phase. This is the kind of detail that separates a prepared homeowner from one who gets surprised.
1 Land Clearing & Foundations
This is the phase where your house's long-term structural integrity gets decided. Once concrete is poured, there's no going back.
- Lot drainage -Water should flow away from the foundation in all directions
- Footing dimensions -Width and depth should match your engineered plans exactly
- Rebar placement -Correct size, spacing, and tied at intersections
- Anchor bolt positioning -Spaced per code, within 12" of corners and plate breaks
- Waterproofing membrane -Applied on all below-grade foundation walls
- Drain tile / French drain -Installed at footing level with proper slope
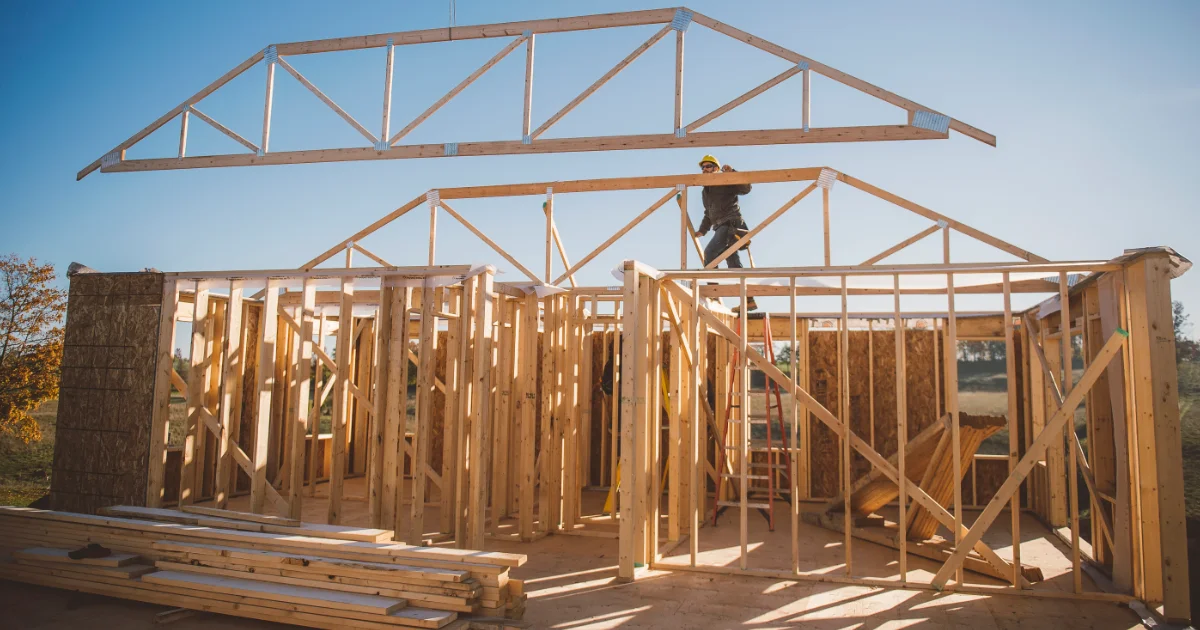
2 Framing
Framing is the skeleton of your home. Every wall, floor, and roof starts here. Mistakes at this stage cascade into every trade that follows.
- Wall plumb and straight -Use a 4-foot level on every wall section
- Window and door rough openings -Should be 1/2" to 3/4" larger than the unit on each side
- Header sizes -Verify against structural plans, especially above wide openings
- Truss and joist spacing -Typically 16" or 24" on center, matching plans
- Sheathing nailing pattern -Edge nailing every 6", field nailing every 12"
- No wet or moldy lumber -Moisture content should be under 19%
Take photos of every wall before insulation goes in. These photos become invaluable when you need to hang something heavy, find a stud, or locate a pipe years later. Photograph from multiple angles and save them in a folder labeled by room.
3 Plumbing, Electrical & HVAC
The "rough-in" phase is when all your mechanical systems get installed inside the walls, floors, and ceilings. After insulation and drywall, these become invisible.
Plumbing
- Water supply lines sized correctly
- Drain lines have proper slope (1/4" per foot)
- All connections tested for leaks
- Vent pipes extend through roof
- Water heater location accessible
Electrical
- Outlets per code (every 12' on walls)
- GFCI in wet areas (kitchen, bath, garage)
- AFCI protection where required
- Panel properly sized for home
- Outdoor outlets weatherproof
HVAC
- Equipment sized via Manual J calculation
- Duct layout matches design
- Ducts sealed at all joints
- Return air in every bedroom
- Thermostat on interior wall
Insulation
- R-value matches plans and code
- No gaps, compression, or voids
- Vapor barrier on warm side
- Rim joists insulated
- Attic baffles at eaves
4 Interior Finishes & Final Walkthrough
This is the phase most homeowners focus on -and rightfully so. These are the surfaces and details you'll see and touch every day.
- Cabinets level and plumb -Doors should close evenly, drawers slide smoothly
- Countertop seams -Should be tight and color-matched, especially on quartz and granite
- Paint -No drips, even coverage, clean cut lines at trim
- Flooring -No squeaks on wood floors, no loose tiles, transitions clean
- Trim and baseboards -Tight joints at corners, no gaps at walls
- All fixtures working -Every faucet, every switch, every outlet, every lock
How a Checklist Saves You Real Money
Let me put this in concrete terms. Here's what typical homeowners save by using a structured construction checklist versus going in without one:
| Category | Without Checklist | With Checklist | Savings |
|---|---|---|---|
| Change orders from missed details | $15,000 - $30,000 | $3,000 - $8,000 | $12,000 - $22,000 |
| Post-move-in repairs | $5,000 - $12,000 | $500 - $2,000 | $4,500 - $10,000 |
| Delay-related costs (temporary housing, loan interest) | $4,000 - $10,000 | $0 - $2,000 | $4,000 - $8,000 |
| Stress, arguments, and headaches | A lot | Manageable | Priceless |
| Total potential savings | $20,000 - $40,000 |
That's not theoretical. Those are real numbers from real projects. A $99 checklist that saves you even $5,000 on your build is a 50x return on investment. I've never seen a homeowner regret having one.
The 5 Most Common Things Homeowners Miss
In my experience, these are the items that consistently get overlooked by homeowners who don't use a checklist. Every one of these leads to a repair bill later:
Each of these is something a homeowner could spot with a simple checklist in hand. The bathroom fan? Walk up to the attic and look. The flashing? Visible during framing before siding goes on. The insulation? Check it during the insulation phase -it takes 15 minutes.
At each major phase, spend 15 minutes walking through with your checklist. That's it. Fifteen minutes during framing. Fifteen during rough-in. Fifteen before drywall. Those 60-90 total minutes across your entire build can save you tens of thousands of dollars and years of frustration.
When Should You Use Your Checklist?
Timing is critical. You need to inspect at the right moments -after a phase is complete but before it gets covered up by the next trade. Here are the key inspection windows:
| Inspection Window | What Gets Covered Next | Time You Have |
|---|---|---|
| After foundation pour, before backfill | Foundation walls covered by dirt | 2-5 days |
| After framing, before rough-ins | Walls filled with pipes and wires | 3-7 days |
| After rough-ins, before insulation | All mechanical systems hidden | 1-3 days |
| After insulation, before drywall | Everything sealed behind walls forever | 1-2 days |
| After drywall, before paint | Wall imperfections hidden under paint | 3-5 days |
| Final walkthrough, before closing | Your builder leaves the site | 1-2 days |
The most important single inspection is after insulation and before drywall. This is your absolute last chance to see inside your walls. Once drywall goes up, everything behind it is invisible for the life of the house. Ask your builder to schedule a pre-drywall walkthrough -and bring your checklist.
DIY Checklist vs. Professional Checklist
Can you make your own checklist? Sure. But here's the problem: you don't know what you don't know. A checklist you write from general online research will cover the obvious items -but it'll miss the technical details that actually cause the most expensive problems.
For example:
- You might check that insulation is installed -but do you know to look for compression around electrical boxes?
- You might verify that plumbing passes inspection -but do you know that code minimum and optimal installation are different things?
- You might walk through during framing -but do you know what proper sheathing nailing patterns look like, or why they matter for wind resistance?
A professionally built checklist includes the items that come from years of construction experience -the things you'd only know to look for if you've built dozens of homes.
Get the Complete Home Building Checklist Bundle
14 detailed checklists covering every phase of construction -from land clearing to final walkthrough. Created by a construction professional who has seen every mistake in the book.
See the Checklist BundleHow to Use Your Checklist Effectively
Having a checklist is step one. Using it properly is what actually saves you money. Here are my practical tips:
- Print it out. Don't use your phone. At a construction site, you need something you can write on with dirty hands, mark up with notes, and hand to your builder. Paper works better.
- Schedule walkthroughs with your builder. Don't just show up unannounced. Tell your GC: "I'd like to walk through after framing is complete and before rough-ins start." Good builders welcome this.
- Take photos of everything. Mark items on your checklist and photograph the corresponding area. If there's ever a dispute about what was installed, you'll have evidence.
- Don't be confrontational. You're not there to catch your builder doing something wrong. You're there to make sure nothing gets missed. Frame it as teamwork, not surveillance.
- Focus on hidden items. Paint and trim can always be fixed. Foundation waterproofing and duct sealing cannot. Prioritize the things that will be permanently buried.
Final Thoughts
Building a home is one of the most exciting things you'll ever do. But it's also complex, expensive, and full of details that are easy to overlook. A construction checklist doesn't make the process harder -it makes it manageable.
Think of it like a pilot's pre-flight checklist. Pilots don't use checklists because they're inexperienced. They use them because the stakes are too high to rely on memory alone. Your home build is no different.
Plan ahead. Check everything. And enjoy the process of watching your dream home come together -with the confidence that nothing is getting missed.
If you're planning a home build or already in the process, check out my complete home building checklist bundle. It covers every phase from land clearing to final walkthrough, with detailed inspection items at each stage. It's the same process I use on my own projects.